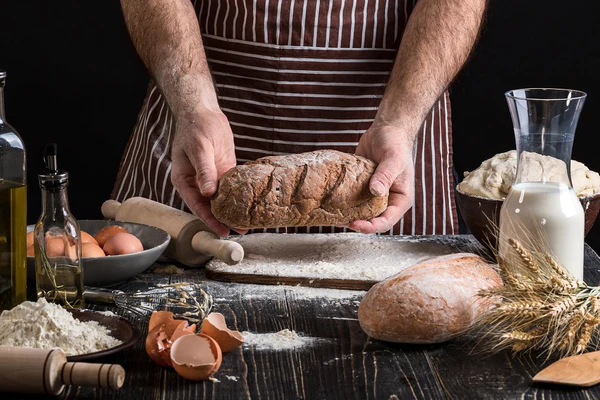
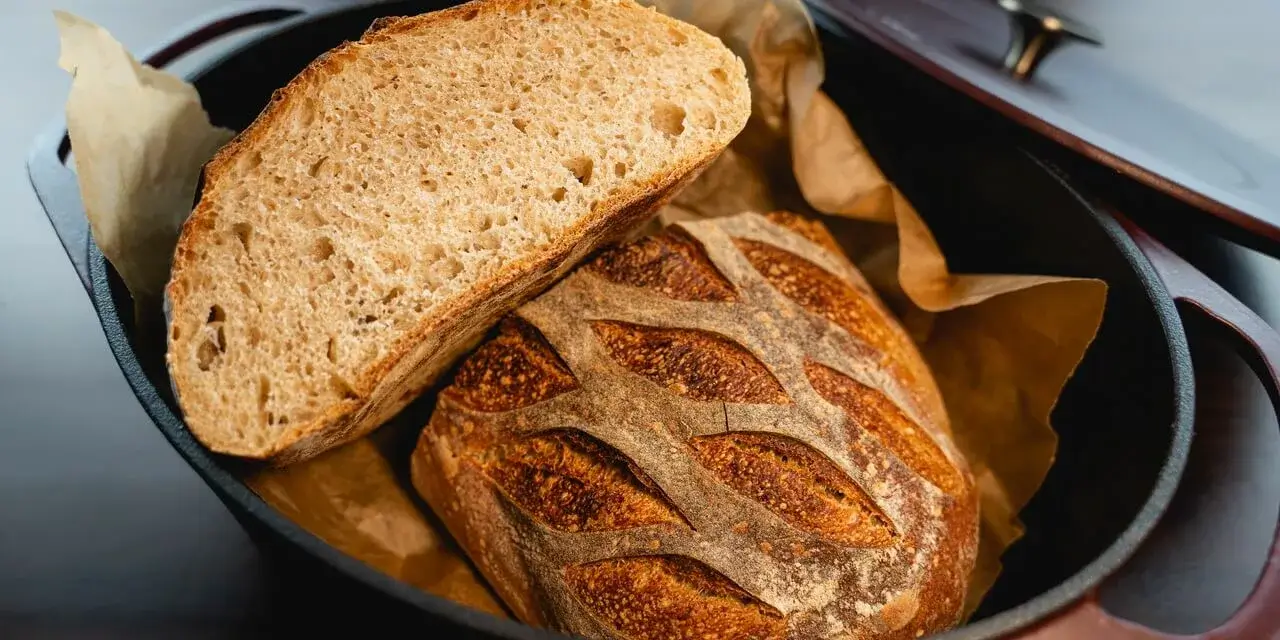
Baking bread at home is more than just making food—it’s a therapeutic and rewarding experience that connects us to centuries of culinary tradition. The aroma of freshly baked bread, the crackling crust, and the soft, warm interior are unparalleled delights. Whether you’re a beginner or looking to refine your skills, this guide will walk you through the art of baking bread at home.
1. The Basics of Bread Baking
To bake bread, you’ll need just four basic ingredients:
- Flour: Provides structure. Use bread flour for its higher protein content.
- Water: Activates the yeast and helps form gluten.
- Yeast: Makes the dough rise. Instant or active dry yeast works well for home baking.
- Salt: Enhances flavor and controls yeast activity.
Pro Tip:
For richer flavors, experiment with additional ingredients like butter, milk, or honey.
2. Types of Bread to Try
Start simple with these popular types of bread:
- White Bread: A soft and versatile classic.
- Whole Wheat Bread: Packed with fiber and nutty flavors.
- Sourdough: Known for its tangy flavor and natural fermentation.
- Focaccia: A flatbread ideal for beginners.
Pro Tip:
Focus on one recipe until you master it before trying others.
3. Essential Tools for Bread Baking
While you don’t need fancy equipment, some tools can make the process easier:
- Mixing Bowls: For combining ingredients.
- Digital Scale: Ensures precise measurements.
- Bench Scraper: Helpful for shaping dough.
- Dutch Oven: Creates steam for a perfect crust.
- Thermometer: Checks dough and bread temperatures.
4. Mastering the Dough
The dough is the heart of bread baking. Follow these steps:
- Mixing: Combine ingredients until the dough forms.
- Kneading: Develops gluten, creating elasticity. Knead by hand or with a stand mixer for about 10 minutes.
- First Rise (Bulk Fermentation): Let the dough double in size, usually for 1-2 hours.
- Shaping: Gently shape the dough into your desired form.
- Second Rise (Proofing): Allow the shaped dough to rise again until puffy.
Pro Tip:
Use the “poke test” to check proofing—if the dough springs back slightly when poked, it’s ready to bake.

5. Baking Techniques
The baking process transforms dough into bread.
- Preheat Your Oven: Always preheat to the recipe’s specified temperature.
- Create Steam: Steam helps develop a crusty exterior. Add water to a hot tray or use a Dutch oven.
- Monitor Doneness: Bread is done when it reaches an internal temperature of 190°F to 210°F.
Pro Tip:
Tap the bottom of the loaf—if it sounds hollow, it’s ready.
6. Common Bread Baking Challenges and Solutions
- Dense Bread: May result from insufficient kneading or proofing. Ensure proper gluten development and give the dough enough time to rise.
- Dry Bread: Can occur from overbaking or using too much flour. Stick to the recipe’s baking time and measure ingredients accurately.
- Flat Loaf: Often caused by overproofing. Keep an eye on the dough during the second rise.
7. Experimenting with Flavors
Once you’ve mastered the basics, try adding ingredients like:
- Herbs and Spices: Rosemary, thyme, cinnamon.
- Cheese: Cheddar, Parmesan, or goat cheese.
- Seeds and Nuts: Sunflower seeds, walnuts, or chia.
- Sweet Additions: Raisins, dried cranberries, or chocolate chips.
8. Savoring the Results
Freshly baked bread is best enjoyed warm, with butter, or dipped in olive oil. However, storing it properly ensures longevity:
- Wrap in a clean kitchen towel or place in a bread box to keep the crust crisp.
- For longer storage, freeze bread in airtight bags and reheat as needed.
Conclusion
Baking bread at home is a journey of patience, practice, and passion. With time, you’ll perfect your techniques and create loaves that rival those of artisan bakeries. So, roll up your sleeves, embrace the process, and savor the joy of homemade bread.
What type of bread will you bake first? Share your thoughts and experiences in the comments below!


