Baking your own bread at home is a satisfying and rewarding experience. The smell of fresh bread filling your kitchen is enough to make anyone feel accomplished. Whether you’re new to bread baking or want to perfect your technique, this guide will help you bake the perfect loaf from start to finish.
1. Choose the Right Bread Recipe
The type of bread you want to bake will determine the ingredients and technique needed. Popular beginner-friendly options include basic white bread, whole wheat bread, and no-knead bread. For the perfect loaf, start with a simple recipe, especially if you’re just beginning.
Tip: Bread recipes vary, so make sure to read through the entire recipe before beginning to ensure you have all the necessary ingredients.
2. Gather the Ingredients
For most bread recipes, you’ll need the following basic ingredients:
- Flour (usually all-purpose or bread flour)
- Yeast (active dry yeast or instant yeast)
- Water (lukewarm, not too hot or cold)
- Sugar (to activate the yeast)
- Salt (for flavor)
- Butter or oil (optional, for a softer crumb)
Tip: Use high-quality ingredients, especially the flour and yeast, to achieve the best results.
3. Activate the Yeast
If using active dry yeast, you’ll need to activate it before mixing with the other ingredients. To do this, dissolve the yeast and sugar in warm water (around 110°F). Wait for about 5-10 minutes until it becomes frothy.
Tip: If the mixture doesn’t foam, it means the yeast is likely expired, and you’ll need to try again with fresh yeast.
4. Mix the Dough
Once the yeast is activated, mix the yeast mixture with flour, salt, and any additional ingredients specified in your recipe. Stir with a wooden spoon or use your hands until the dough starts to come together.
Tip: Use the “well” technique—make a well in the center of the flour and pour in the wet ingredients. This helps incorporate the ingredients more smoothly.
5. Knead the Dough
Kneading is crucial for developing the gluten in the dough, which gives the bread structure and texture. To knead, fold the dough over itself and push it down with your palms. Rotate the dough a quarter turn and repeat. Knead for about 8-10 minutes, until the dough is smooth and elastic.
Tip: If the dough is sticky, sprinkle it with a small amount of flour, but avoid adding too much to keep the bread light and airy.
6. Let the Dough Rise
Place your kneaded dough in a lightly oiled bowl, cover it with a damp cloth or plastic wrap, and let it rise in a warm place for 1-2 hours. The dough should double in size.
Tip: If you’re in a rush, you can let the dough rise in a warm oven (turned off) with a bowl of hot water beneath it.
7. Shape the Dough
Once the dough has risen, punch it down to release the air, then shape it into your desired form. You can create a round or oval loaf, or even use a loaf pan for a rectangular shape. Make sure the dough is even, and tuck the edges underneath for a smooth top.
Tip: Shaping the dough evenly will help it rise more evenly in the oven.
8. Second Rise
Place your shaped dough onto a baking sheet or into a pan. Cover it again and allow it to rise for another 30-60 minutes, until it has puffed up.
Tip: The dough is ready when it springs back slowly after you gently press it with your finger.
9. Preheat Your Oven
While your dough is doing its second rise, preheat your oven to 375°F (190°C). A properly preheated oven ensures the bread bakes evenly.
Tip: If you like a crispy crust, place a pan of water on the bottom rack while preheating to create steam.
10. Bake the Bread
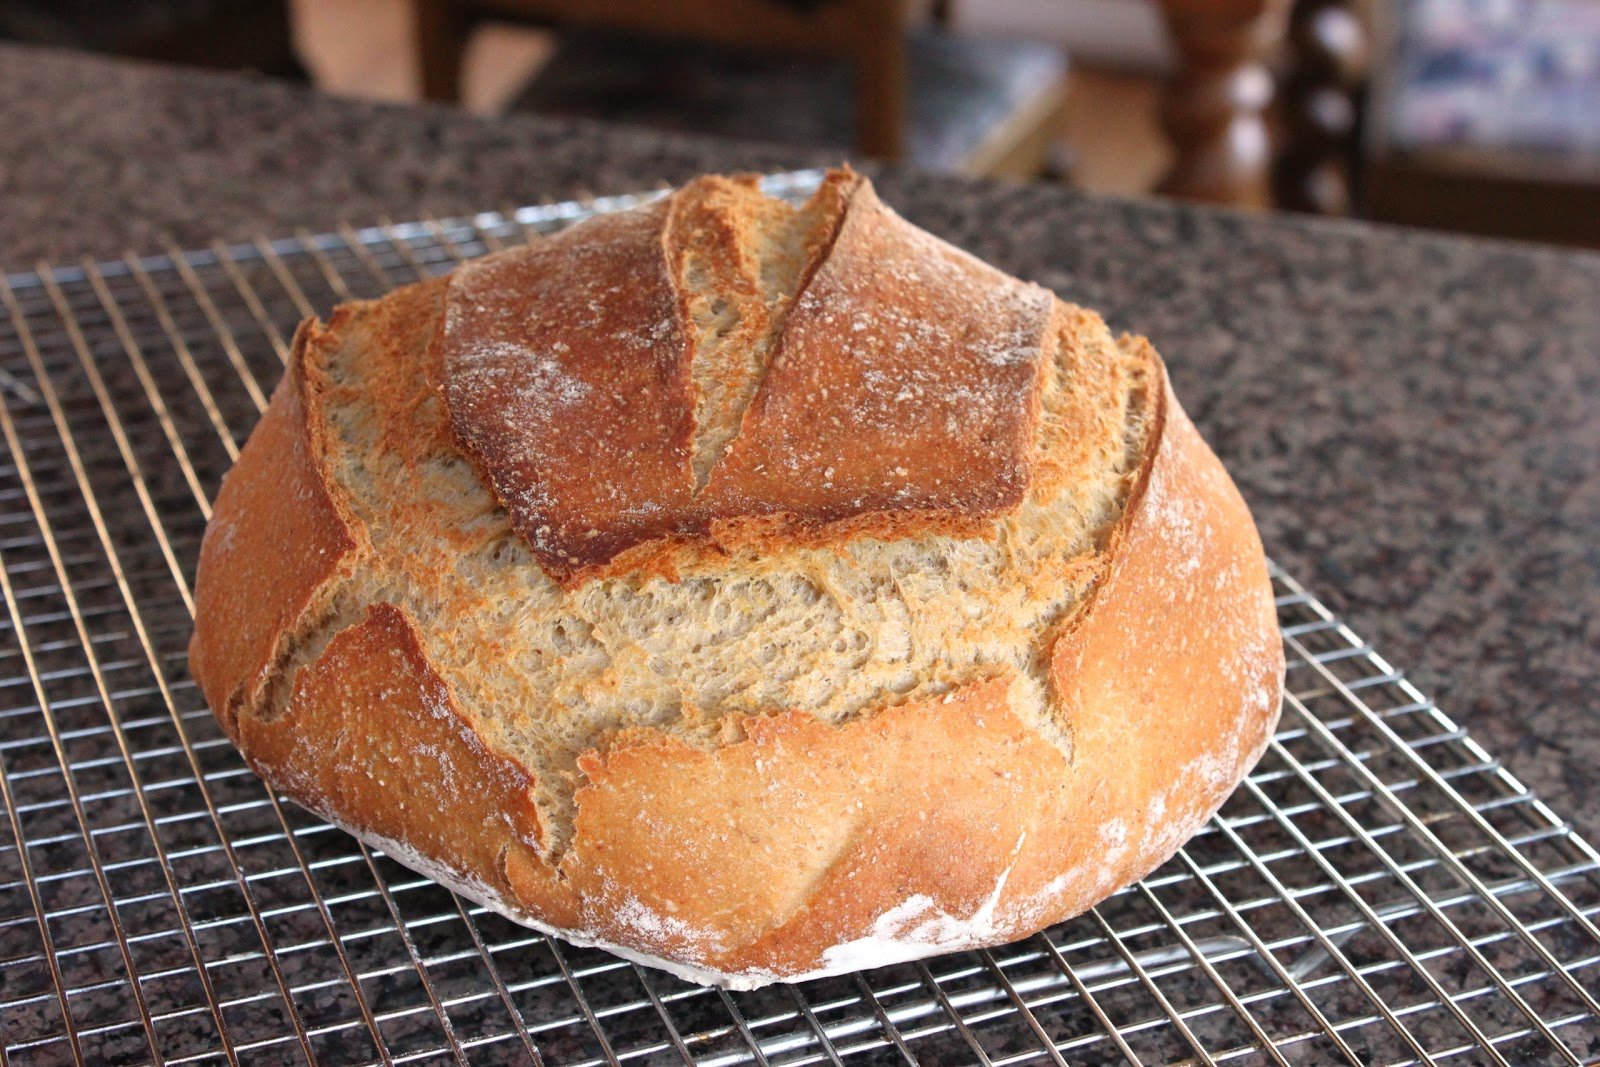
Bake the bread for 25-35 minutes (depending on the recipe and size of your loaf). The bread is done when the top is golden brown, and it sounds hollow when tapped on the bottom.
Tip: To ensure an even bake, rotate the bread halfway through the baking time.
11. Cool the Bread
Once baked, remove the bread from the oven and let it cool on a wire rack. This helps the steam escape and prevents the crust from becoming soggy.
Tip: Allow the bread to cool completely before slicing to ensure the best texture.
Final Thoughts
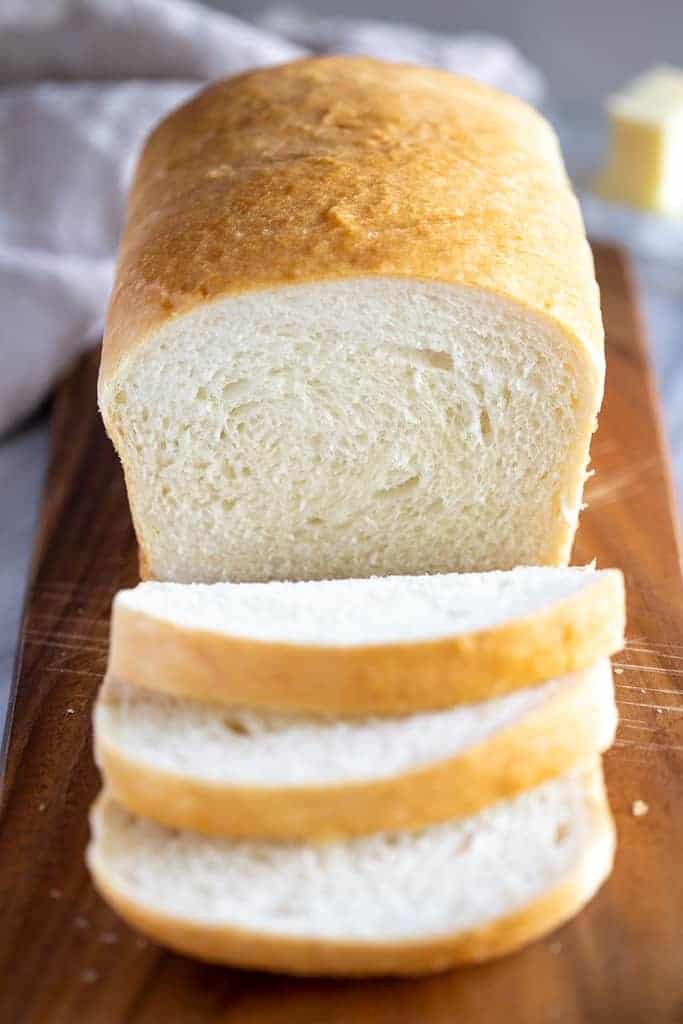
Baking the perfect loaf of bread at home takes practice, but it’s worth every moment. With the right ingredients, patience, and technique, you can enjoy a fresh, homemade loaf of bread that’s sure to impress. Whether you enjoy it with butter, as a sandwich, or with soup, nothing beats the taste of freshly baked bread.

