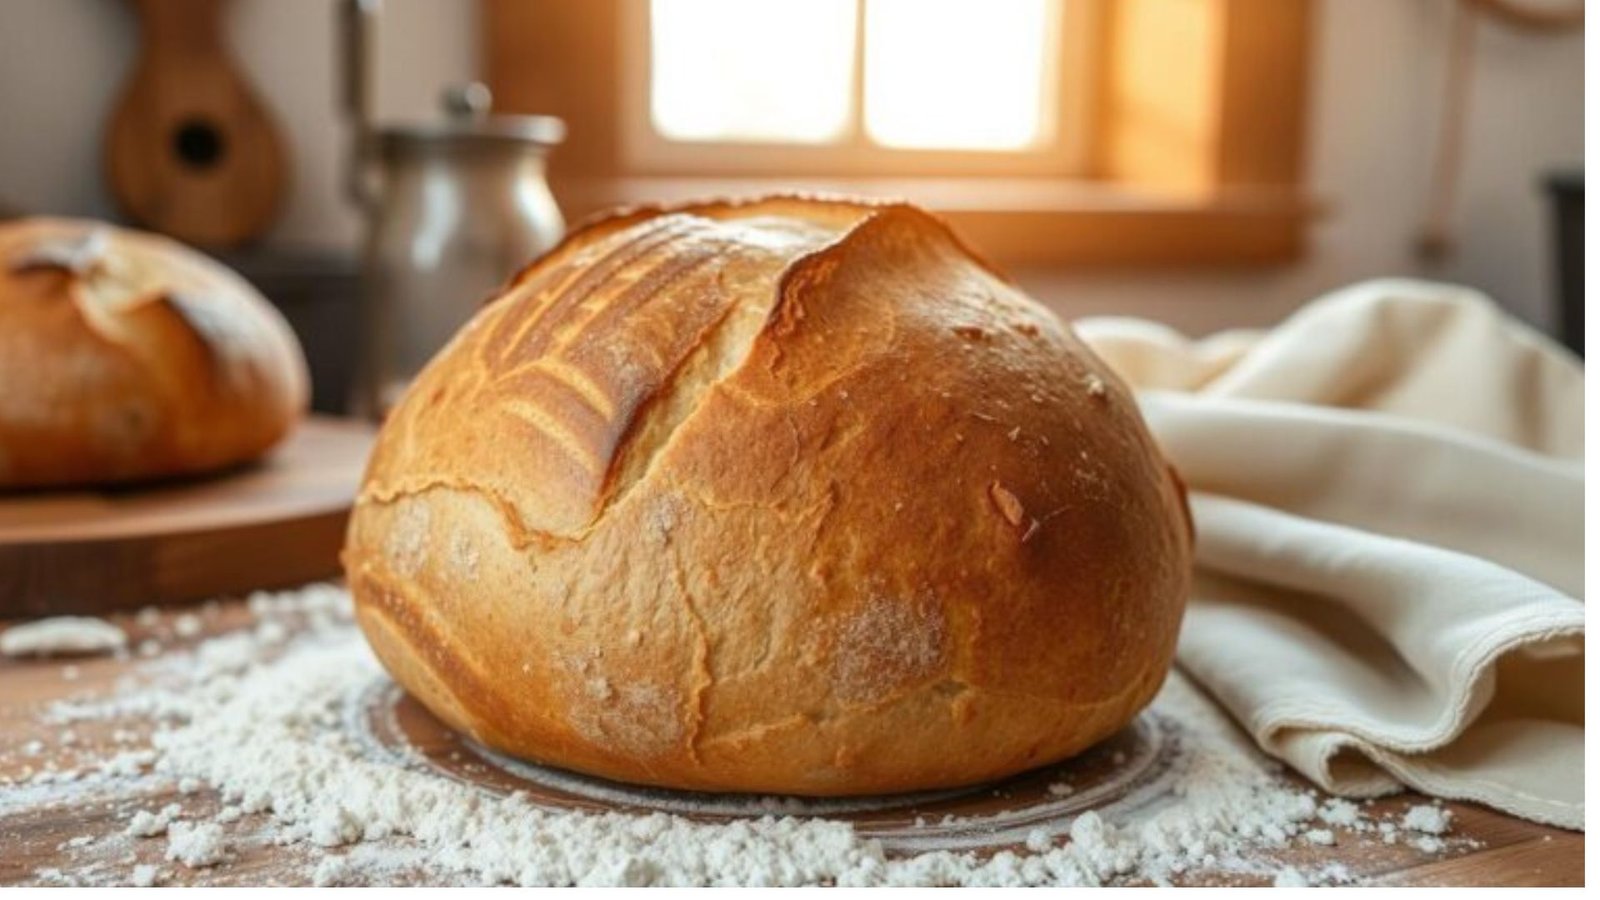
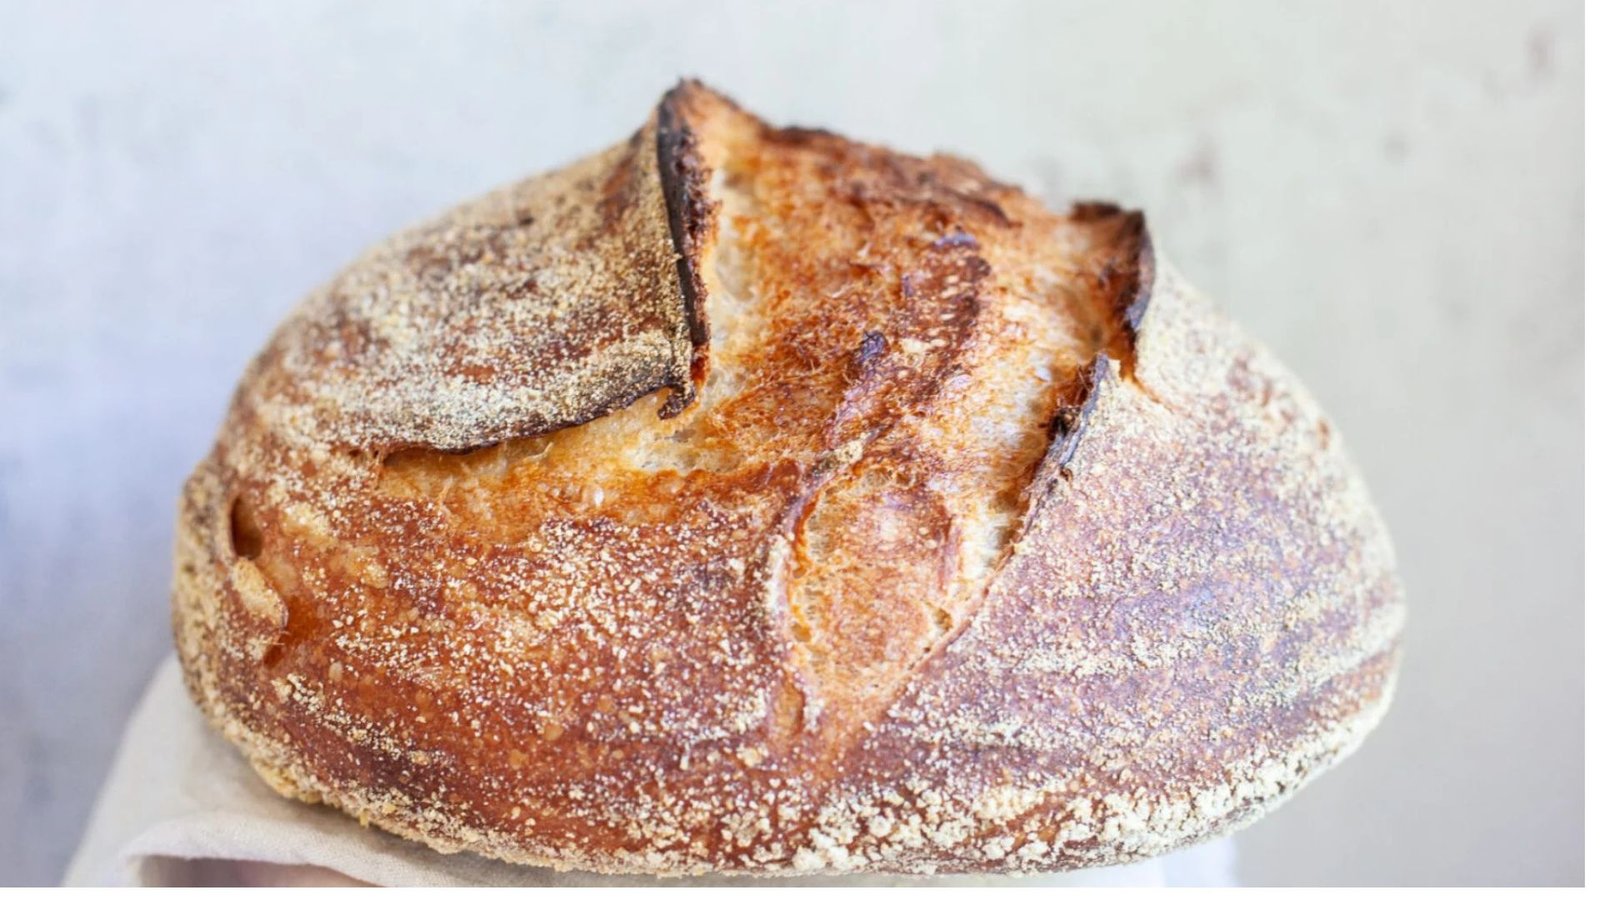
Baking bread at home may seem intimidating at first, but with the right instructions, it’s easier than you think. Homemade bread is incredibly satisfying—its soft, warm center and crispy crust are unbeatable, and the aroma filling your kitchen is second to none. Whether you’re new to baking or just looking to improve your bread-making skills, this beginner’s guide will walk you through every step, from gathering ingredients to perfecting your technique.
In this guide, we’ll cover the basics of baking bread, including tips for choosing ingredients, kneading dough, and baking the perfect loaf. Let’s get started on your bread-making journey!
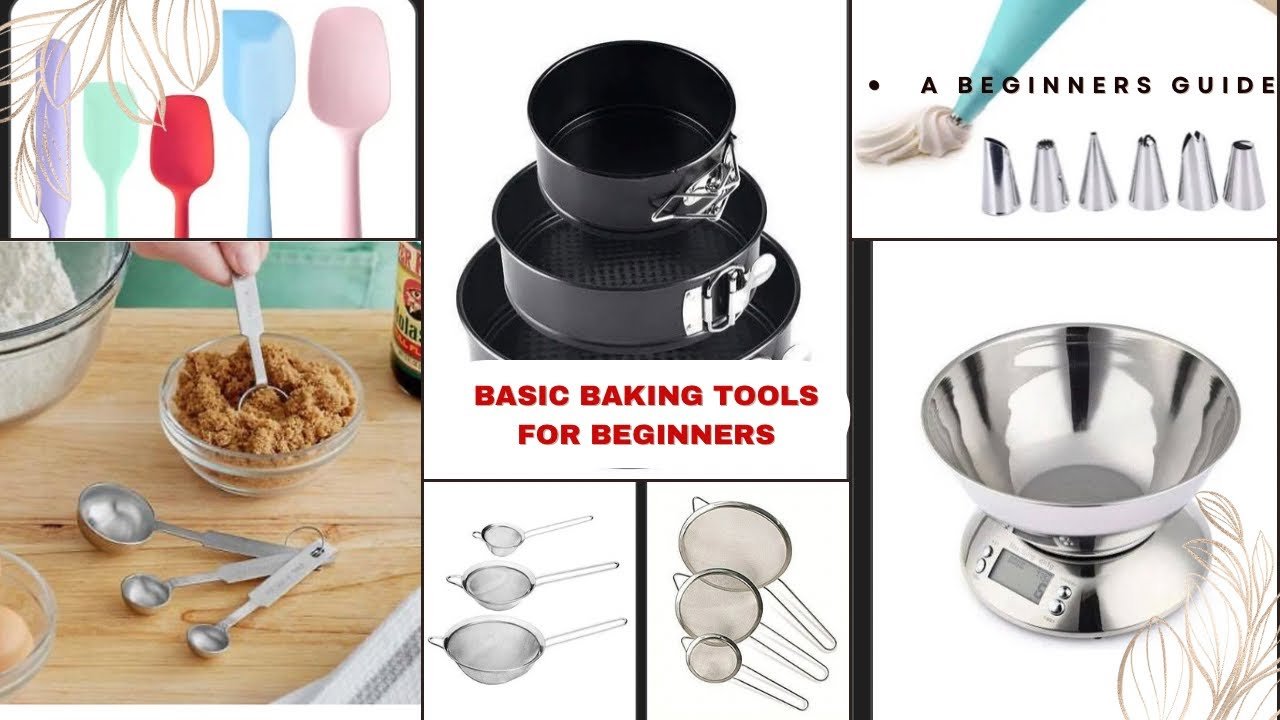
Essential Ingredients for Baking Bread
Bread may look simple, but it’s all about the right ingredients. Don’t worry, you don’t need anything fancy—just a few basic pantry staples. Here’s what you’ll need to bake your first loaf of homemade bread:
1.1. Flour
Flour is the primary structure-building ingredient in bread. There are different types of flour, but for a basic loaf, all-purpose flour or bread flour will work best. Bread flour has a higher protein content, which helps create that chewy texture in bread, while all-purpose flour produces a softer loaf.
1.2. Yeast
Yeast is what makes your dough rise. There are two main types of yeast used in bread making:
- Active dry yeast: This is the most common type for beginners. It needs to be activated by dissolving in warm water before being mixed into the dough.
- Instant yeast: This yeast can be mixed directly into the flour without the need for activation. It’s faster than active dry yeast and also helps dough rise quickly.
1.3. Water
Water activates the yeast and helps bring the dough together. You’ll need lukewarm water (around 100°F or 38°C), which is ideal for yeast to grow and multiply.
1.4. Salt
Salt not only enhances the flavor of bread, but it also helps control the yeast activity. Too much salt can inhibit the yeast from rising properly, so it’s important to stick to the recipe’s proportions.
1.5. Sugar (Optional)
Some bread recipes call for a little sugar to help activate the yeast and provide food for the yeast. For a basic loaf, this step isn’t always necessary, but a small amount (1-2 teaspoons) can improve flavor and texture.
Step-by-Step Instructions for Baking Bread
Now that you’ve got your ingredients ready, let’s dive into the steps for making your first loaf of homemade bread.
2.1. Prepare the Yeast
- Activate the yeast: If you’re using active dry yeast, dissolve 1 tablespoon of yeast and 1 teaspoon of sugar in 1 cup of warm water (about 100°F or 38°C). Let the mixture sit for 5-10 minutes. You’ll see it bubble and foam, which means the yeast is alive and ready to work.
- No need to activate instant yeast: If you’re using instant yeast, you can skip this step and add it directly to the flour.
2.2. Mix the Dough
- Combine dry ingredients: In a large bowl, mix 3 cups of flour and 1 1/2 teaspoons of salt.
- Add the yeast mixture: Once the yeast is activated (or if you’re using instant yeast), pour the yeast-water mixture into the flour mixture.
- Stir to combine: Use a wooden spoon or your hands to mix the dough until it begins to come together. It should be slightly sticky but firm enough to hold its shape.
2.3. Knead the Dough
Kneading the dough is a crucial step for developing the gluten, which gives bread its structure and chewy texture.
- Knead on a floured surface: Turn the dough out onto a lightly floured countertop and begin kneading by pushing the dough with the heel of your hand, folding it over, and turning it 90 degrees. Repeat this process for about 8-10 minutes, until the dough is smooth and elastic.
- Test the dough: If the dough is too sticky, add a little more flour (a tablespoon at a time). If it’s too dry, add a bit more water (a teaspoon at a time).
Conclusion
Baking bread at home is a rewarding experience that doesn’t require special skills—just patience and a few key techniques. By following this beginner’s guide, you’ll be well on your way to baking a delicious loaf of bread from scratch. Remember, the more you practice, the better your bread will get, and soon enough, you’ll be enjoying your own homemade creations with every meal.